All White Nevron locations in Clair Obscur Expedition 33
SOURCE:Polygon|BY:Josh Broadwell
The White Nevrons are strange when compared to the rest of Clair Obscur: Expedition 33, but should they be spared or killed? Find out in our guide.
Tracking down and completing the White Nevron quests in Clair Obscur: Expedition 33 is a process that spans the entire game. You'll encounter the first White Nevron shortly after reaching the Continent, and while most of the others are scattered around in areas you naturally have access to during Act 2, the last few are only accessible once Esquie learns how to fly again. The final reward for helping each White Nevron might be underwhelming, but you do get some excellent Pictos and even a costume while completing their individual quests. You can just attack them instead, but given what you're missing out on, it's not worth the trouble.
Below, we list where to find each White Nevron in Expedition 33 and how to complete their quests, along with what you get for helping out.
Should you help or kill White Nevrons?
The whole point of aiding the White Nevrons in Expedition 33 is to fulfill the request of Blanche, a Nevron you find very late in the game, after the start of Act 3. Blanche asks you to help all the other White Nevrons you encountered along the way and gives you 100 Color of Lumina if you do it without hurting any of them (with one exception, which we'll get into later).
100 Color of Lumina is, frankly, not a lot, since it equals 20 Lumina Points per character if you split it evenly. By this point in Expedition 33, it won't make a significant difference unless you just load it all onto one or maybe two characters. If you really want to attack the Nevrons, you can complete their quests to unlock the associated achievement, get Blanche's reward, then go back and kill them all, though the return for that is very minimal, just a few Color of Lumina and maybe a catalyst or two per Nevron.
Before you start, it's important to note that Tisseur in Sirene doesn't count as a White Nevron, so it's okay to defeat them as it makes the upcoming boss fight a lot easier.
So, the TL;DR here is that the easier route with more and better rewards is to do all the White Nevron quests and make Blanche happy.
Jar — Spring Meadows
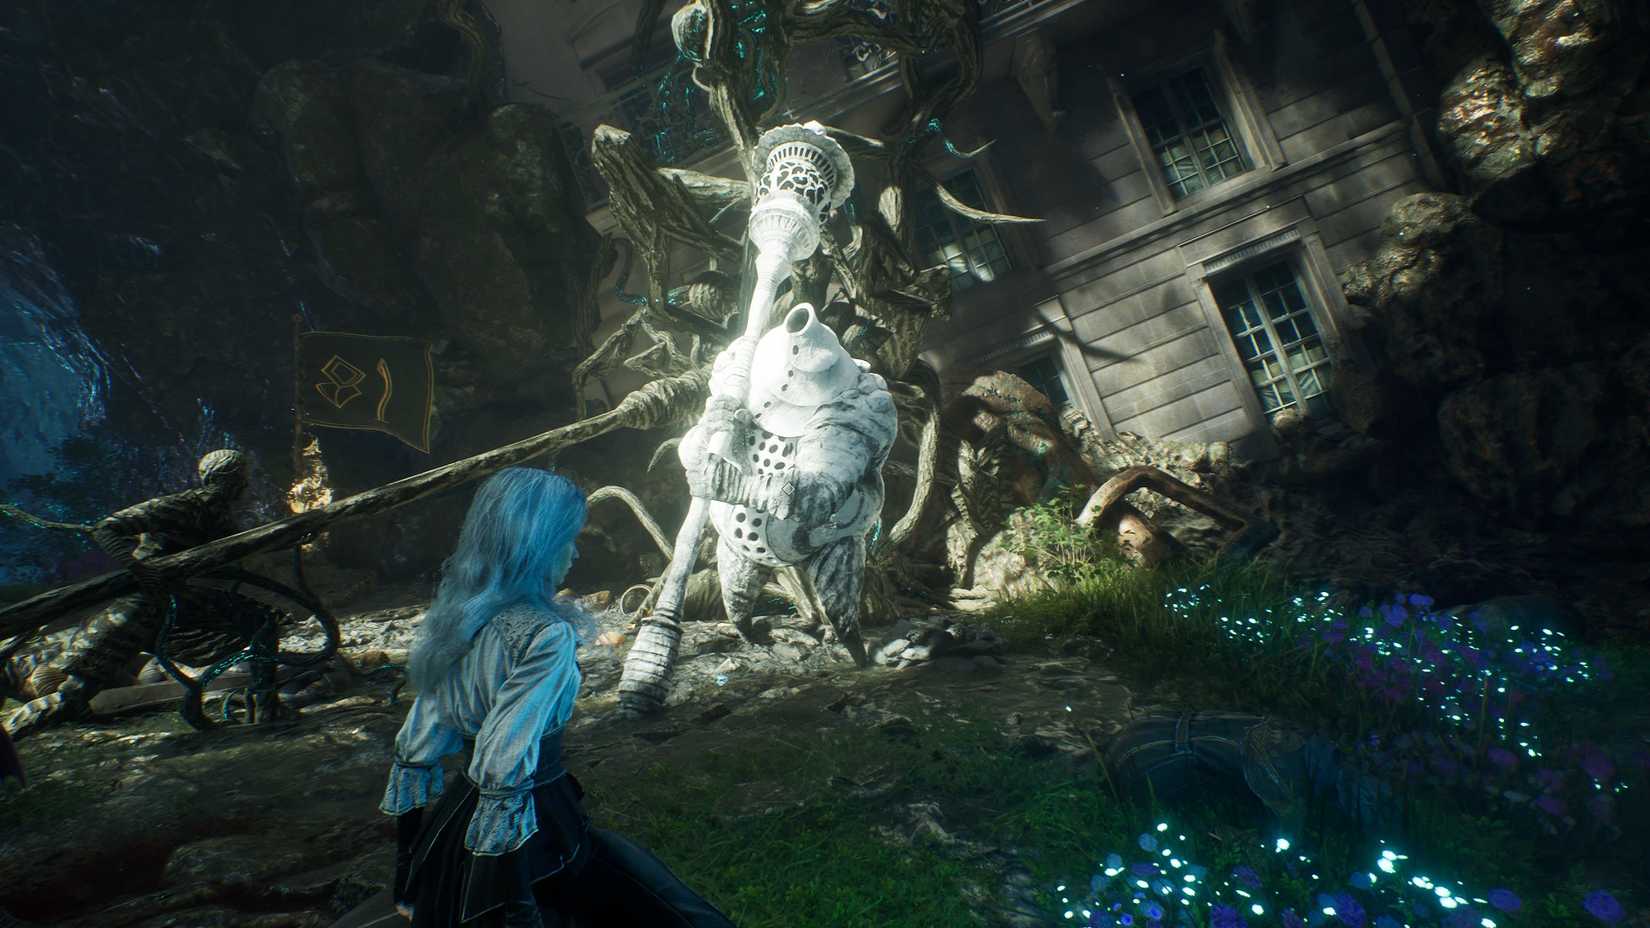Image: Sandfall Interactive/Kepler Interactive via Polygon
Jar sat himself next to the Expedition 81 flag on the main path connecting the meadows to the Indigo Tree area, so it's impossible to miss this first White Nevron quest. The big guy needs light, and, thinking Jar might hold some kind of secret to the Paintress' identity, the party decides it might be worth helping it.
Where to find Jar's light
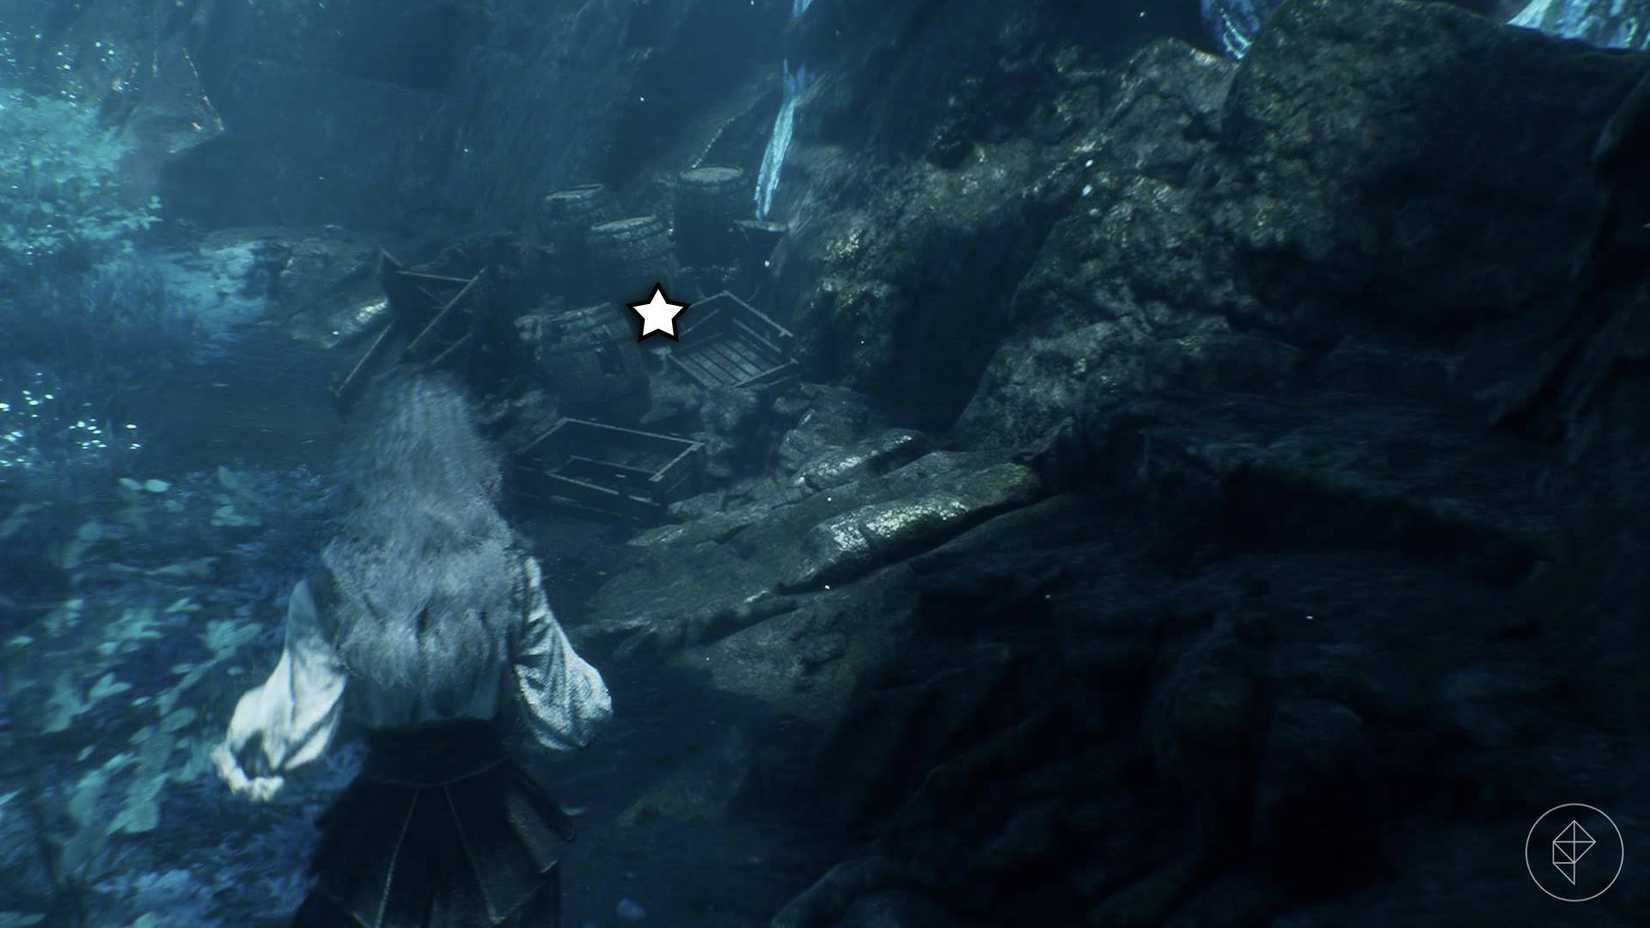Image: Sandfall Interactive/Kepler Interactive via Polygon
Head through the tunnel behind the flag, and take a right. Stick to the cliffside path for a faster route, and then when you reach the end of it and see the bridge below, drop down. Go right again until you see a pile of broken crates and barrels, where you'll find resin. Return to Jar, give them the resin, use a Free Aim shot to light its lantern, and you're good to go.
For your trouble, you get an additional healing tint for use in battle. Jar says he needs more light if you talk to it again, but the comment is just meant for laughs. This is the end of the quest. You can, however, choose to attack Jar, though it's not really worth it. Defeating the Nevron only gets you a Chroma Catalyst and three Color of Lumina — hardly in short supply, even at this point of the game.
Démineur — Flying Waters
Image: Sandfall Interactive/Kepler Interactive via Polygon
The second White Nevron, a tame Démineur in Flying Waters, isn't on the main story path, so you'll need to take a bit of a detour. After leaving the manor and meeting Noco, you'll emerge in a large area with bits of a shipwreck floating about. Rather than heading into the cave with a big dripping anchor over the entrance, take a right. Enter the big white jar, and at the end of the tunnel, you'll find the white Démineur. Alternatively, if you're returning to Flying Waters later, start from the Coral Cave fast travel point, go back through the tunnel into the open area with the shipwreck, turn left, and you'll see the jar-cave.
Where to find an intact mine for the Démineur
The Nevron needs an intact mine, and happily for you, there just so happens to be one nearby. Turn right from the Demineur, and walk to the edge of the ledge. Hop across the pillars to reach the other side, turn right, and across another gap, you'll see a telltale purple glint indicating a quest item. Jump over to it, then make your way back to the White Nevron.
Your reward is the Deminerim weapon for Lune, which is much better than the reward for attacking the Nevron — one Chroma Catalyst and three Color of Lumina.
The Small Bourgeon
Image: Sandfall Interactive/Kepler Interactive via Polygon
The next White Nevron is a Bourgeon, but tiny. This one lives in an area called simply The Small Bourgeon, which is to the west of the Ancient Sanctuary entrance. Speak with the lil' critter to learn it needs a Bourgeon Skin if it wants to grow big and strong.
How to get a Bourgeon Skin
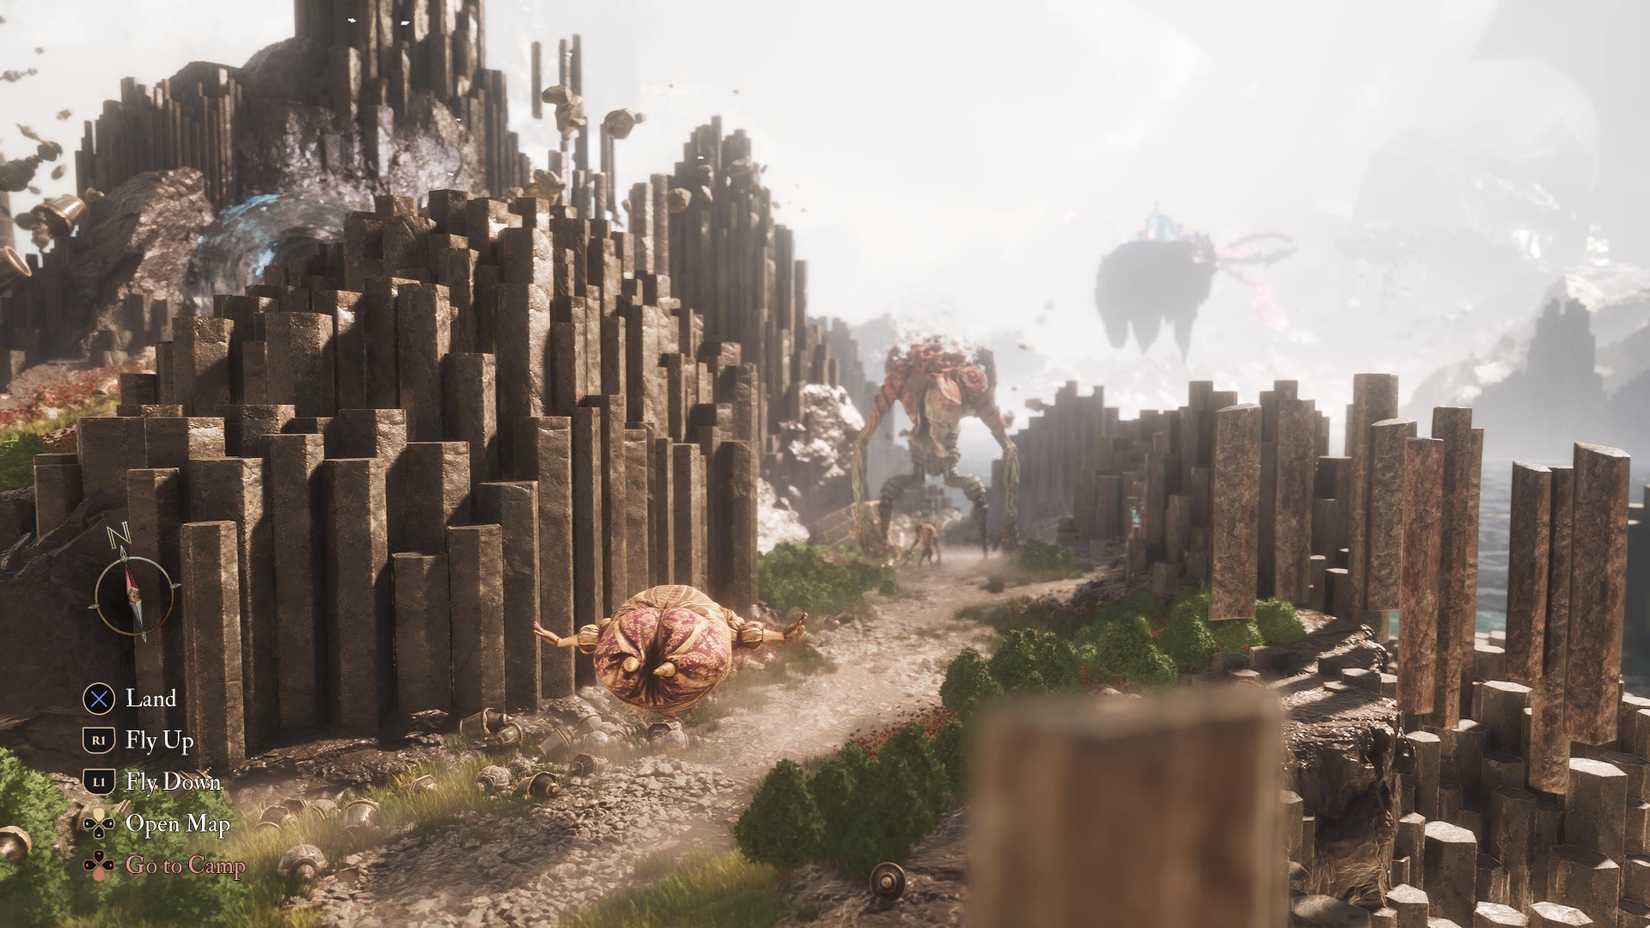Image: Sandfall Interactive/Kepler Interactive via Polygon
You can only get a Bourgeon Skin from defeating a standard Bourgeon enemy. There's one in the Lumiéran Streets section of Flying Waters (take a left from the flag and follow the path until you reach it) and one to the right of the Stone Wave Cliffs entrance on the world map.
Give the skin to the Small Bourgeon, rest at an Expedition Flag, then come back to see that the Small Bourgeon is now a very big Bourgeon. It puked up a Color of Lumina for your reward. If you attack it after this, you'll get five more Color of Lumina and one Chroma Catalyst.
Image: Sandfall Interactive/Kepler Interactive via Polygon
Starting Hexga's quest isn't part of the main storyline like Jar's was, but it's impossible to miss. After you leave the ruined farm behind, you'll come across another large building below you and a large Nevron on the other side of an equally large gap. Climb across the gap, and chat with Hexga to learn that it needs glowing rock crystals.
Where to find glowing rock crystals
Glowing rock crystals are what it says on the label — rock crystals that glow. They're bright white, and you need to break them with an attack or Free Aim shot before you can collect the actual quest item.
Image: Sandfall Interactive/Kepler Interactive via Polygon
When you first enter the cave near Hexga, slide down the chroma zipline, and you'll see the first crystal in front of you. Turn left, and follow the path up an incline. There's a Color of Lumina nestled against the cave wall and, just beyond that, you'll see another rope and a large Nevron waiting to jump out at you, so, if you scare easily, know that a surprise is coming. After you defeat it, you'll get a second rock crystal.
Image: Sandfall Interactive/Kepler Interactive via Polygon
The third crystal is near the giant rock formations in the cave's center. Turn right from where you defeated the Nevron to get the second crystal. At the top of the formation, you can also find the Breaking Shots Pictos, which is useful if you're using a Monoco break build later in the game, but you don't have to do any platforming to reach the rock crystal.
Image: Sandfall Interactive/Kepler Interactive via Polygon
Return to Hexga with the glowing rock crystals and give it to them to receive the Auto Shell Pictos. If you attack Hexga, you get a Recoat, three Color of Lumina, and one Polished Chroma Catalyst.
Benisseur — Red Woods
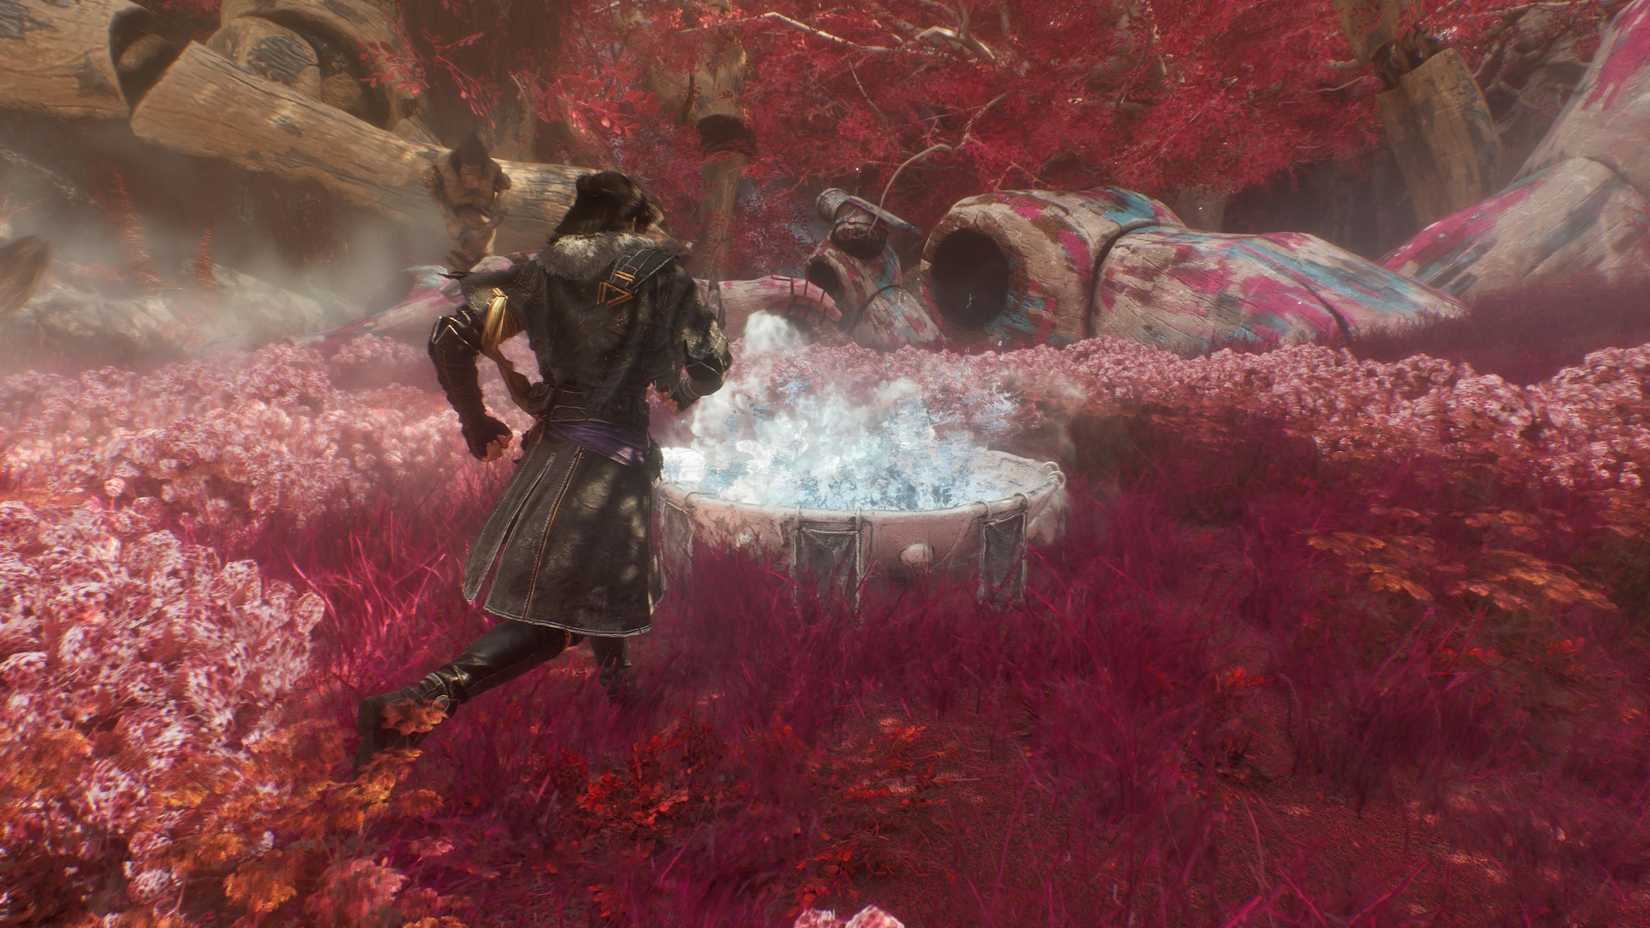Image: Sandfall Interactive/Kepler Interactive via Polygon
This one's pretty straightforward compared to the previous quests. The Red Woods is a small zone to the west of Small Bourgeon, and you'll know you're getting close because all the trees turn red. Inside is a fountain that tells you what's on its mind if you give it Chroma (Expedition 33's primary currency). It then requires several more deposits in increasing increments.
First: 5,000
Second: 10,000
Third: 25,000
Fourth: 50,000
There's no time limit on this quest, so feel free to come back later when you're a bit more flush with magical paint money. Once you fork over the last 50,000 Chroma, Benisseur pops out and thanks you for your patronage by giving you the Recovery Pictos. This one lets the user restore 10 percent of their HP at the start of a turn, so it's exceptionally useful for any build if you're struggling with survival.
Pale Troubadour — Stone Quarry
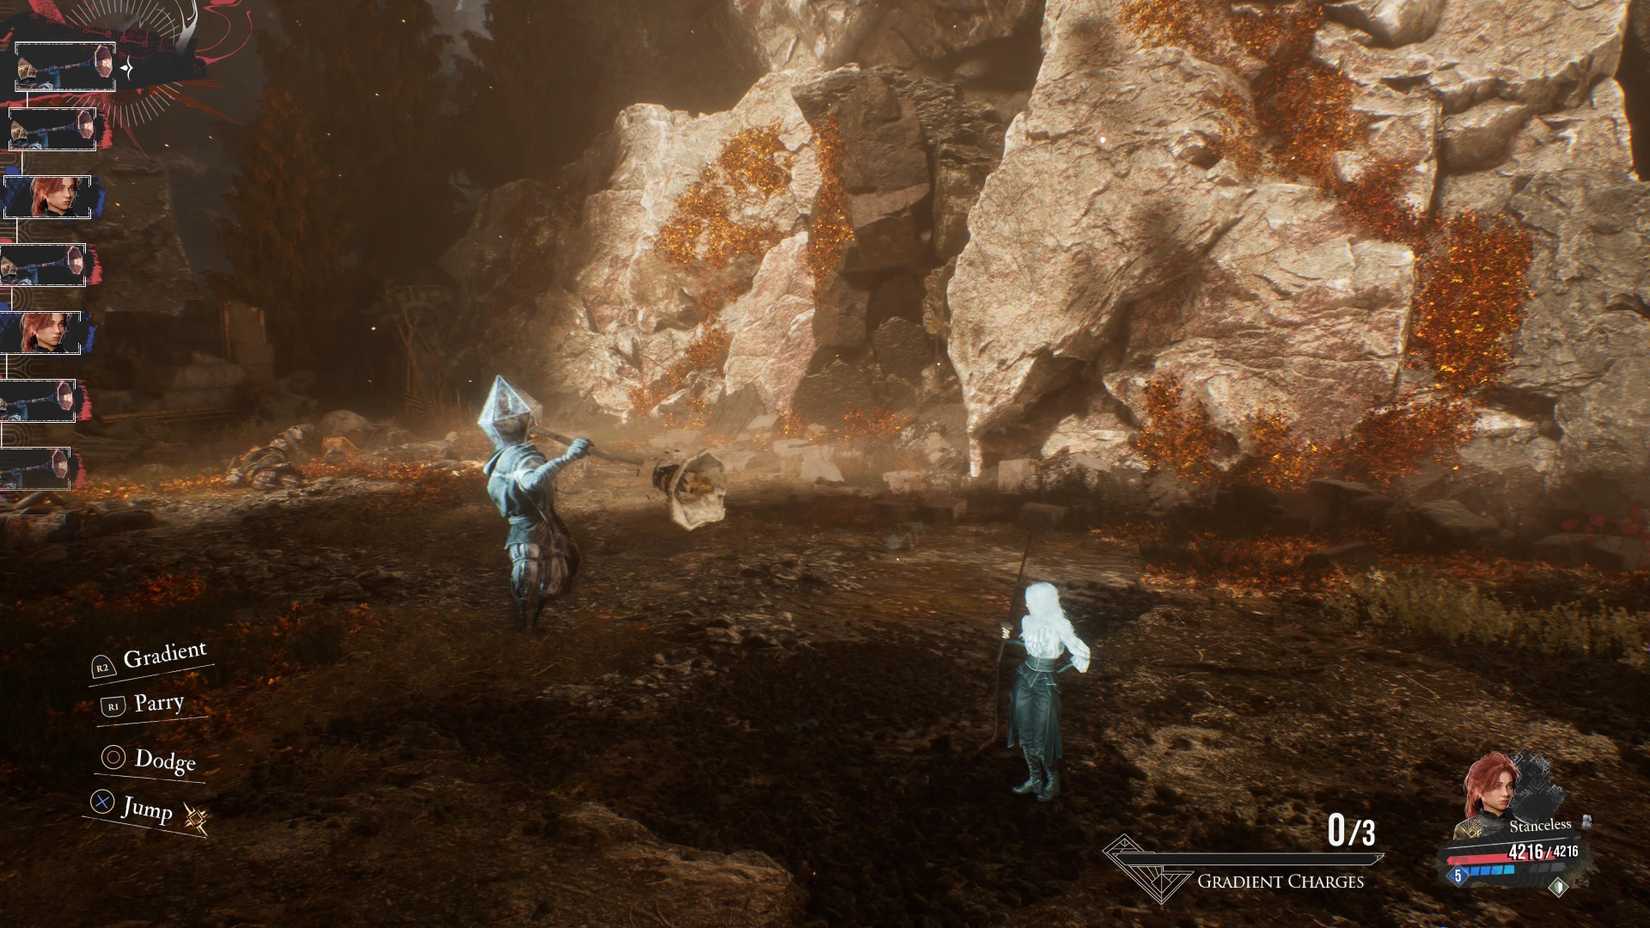Image: Sandfall Interactive/Kepler Interactive via Polygon
The Stone Quarry is east of the Forgotten Battlefield's northern exit, and it's home just to this sad, lonely troubadour (and another journal). It feels bad about accidentally killing its friends with an instrument and wants to learn how not to do that again.
A mock battle kicks off after you agree to help, though it's really more of an exercise in how to parry or dodge. The troubadour fires red and green projectiles. The red ones are "bad notes" that you have to dodge or parry, and the green ones are "correct notes" that heal you if they connect. Let them connect; don't dodge or parry the green projectiles. If you get hit by the red ones, you'll have to restart the trial, though you won't get kicked out of the fight.
Make it through three trials, and you'll get the Healing Parry Pictos. If you attack the troubadour, you only get one Resplendent Chroma Catalyst.
Portier — Esoteric Ruins
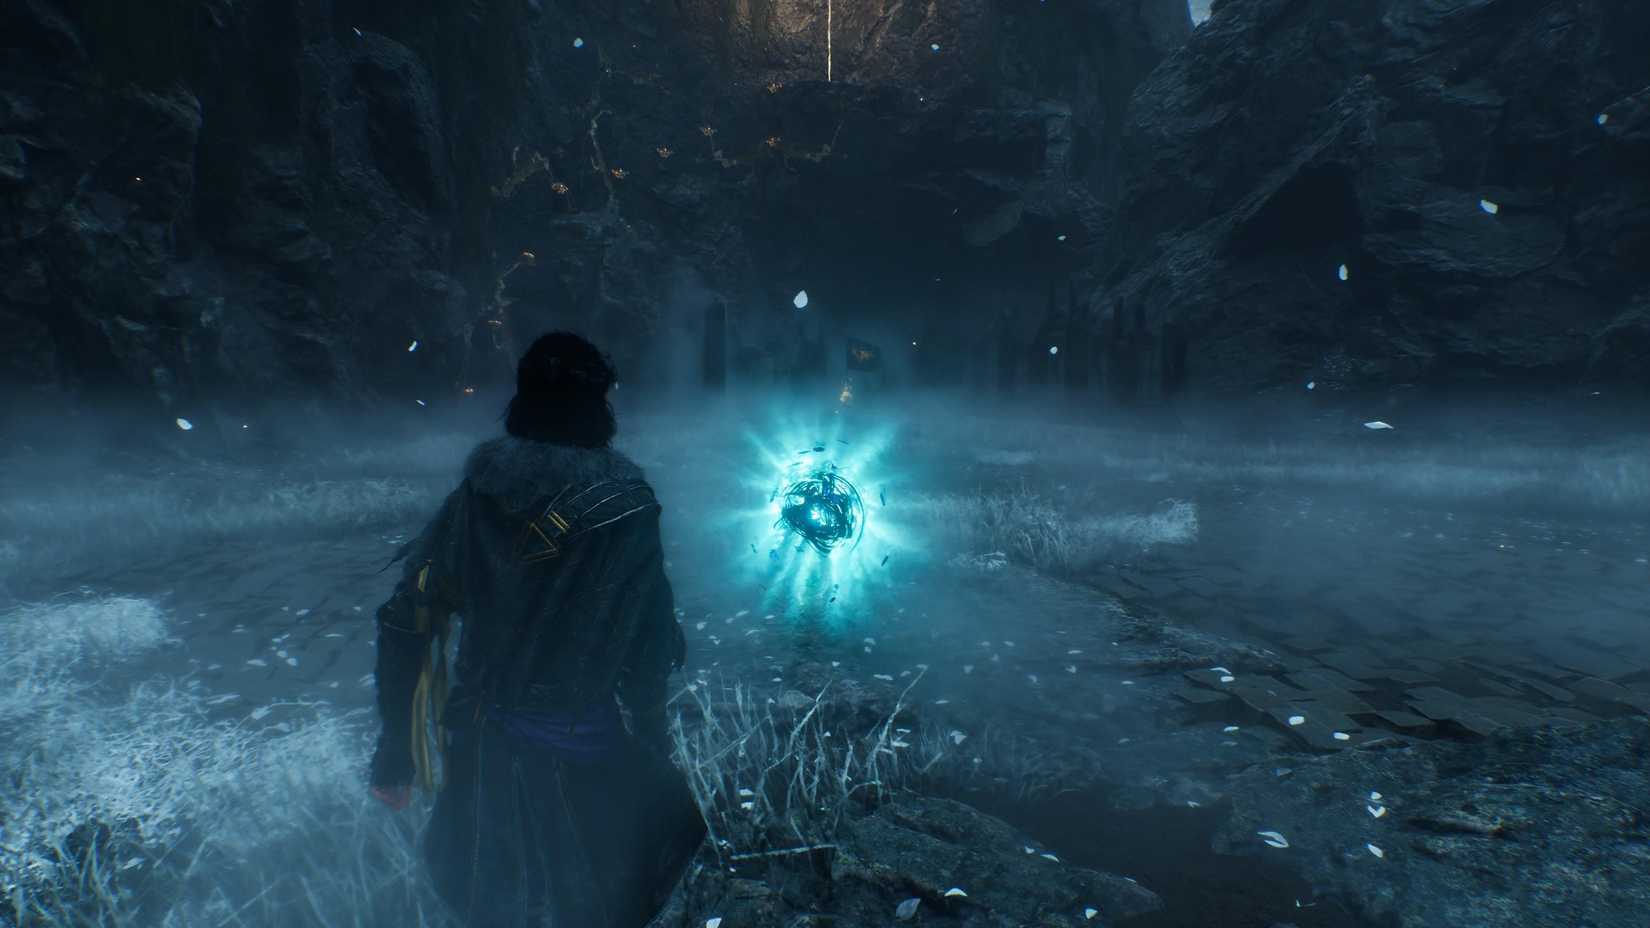Image: Sandfall Interactive/Kepler Interactive via Polygon
The white Portier lives in a maze called the Esoteric Ruins. Make as if you're traveling to Old Lumiere after leaving Monoco's Station and take a left instead of entering Old Lumiere. Or if you're returning later, travel by sea from the north.
Inside is a Portier's soul, and it has some tasks for you. When it says "...a spirit could be defined as," your response doesn't matter, at least as far as we can tell.
Then, the spirit wants you to enter the maze and retrieve an item for it. The way the maze works is this: Doors open or close depending on which braziers are lit in each room, and you can light or extinguish a brazier by firing a Free Aim shot at it. Here's how to get through the maze.
Enter the maze behind the spirit, and activate the brazier.
Head left into the next room, and then turn around and shoot the brazier from the first room.
Shoot the brazier in the room you're currently in.
Pass through the now-opened room, turn right, and pass through the next room into the one at the end of this row.
Turn around, and shoot the brazier in the room you just passed through.
No other shots required. Follow the path through to the end of the maze.
In the open area at the end of the maze, you'll find a Color of Lumina and some wooden boards, the latter of which is a quest item for the spirit. Return the boards to it to receive the Protecting Heat Pictos.
If you attack the Portier after this, you'll get one Polished Choma Catalyst and three Color of Lumina.
Danseuse Teacher — Frozen Hearts
Image: Sandfall Interactive/Kepler Interactive via Polygon
Frozen Hearts is an optional area northeast of Monoco's Station, which you can access at any time after clearing the main story events in said station. Enter Frozen Hearts, cross the bridge beyond the Expedition 51 flag, and make your way up the mountain. Turn left, enter a cave, and zip up the Chroma line. Then take another left, and you'll wind up on a train platform. Follow the tracks to the edge of a cliff, and you'll see the Danseuse standing on frozen lava below.
Your task for this quest is to parry 15 consecutive attacks from the Danseuse. Unlike with the Troubadour quest, though, if you fail, you do get kicked out of the fight and have to speak to the Danseuse to start again. Play with headphones, if you can, and listen for the sound cues that play right as you're meant to parry.
Once you successfully parry everything, you'll get the Danseuse costume for Lune.
Chalier — Floating Cemetry
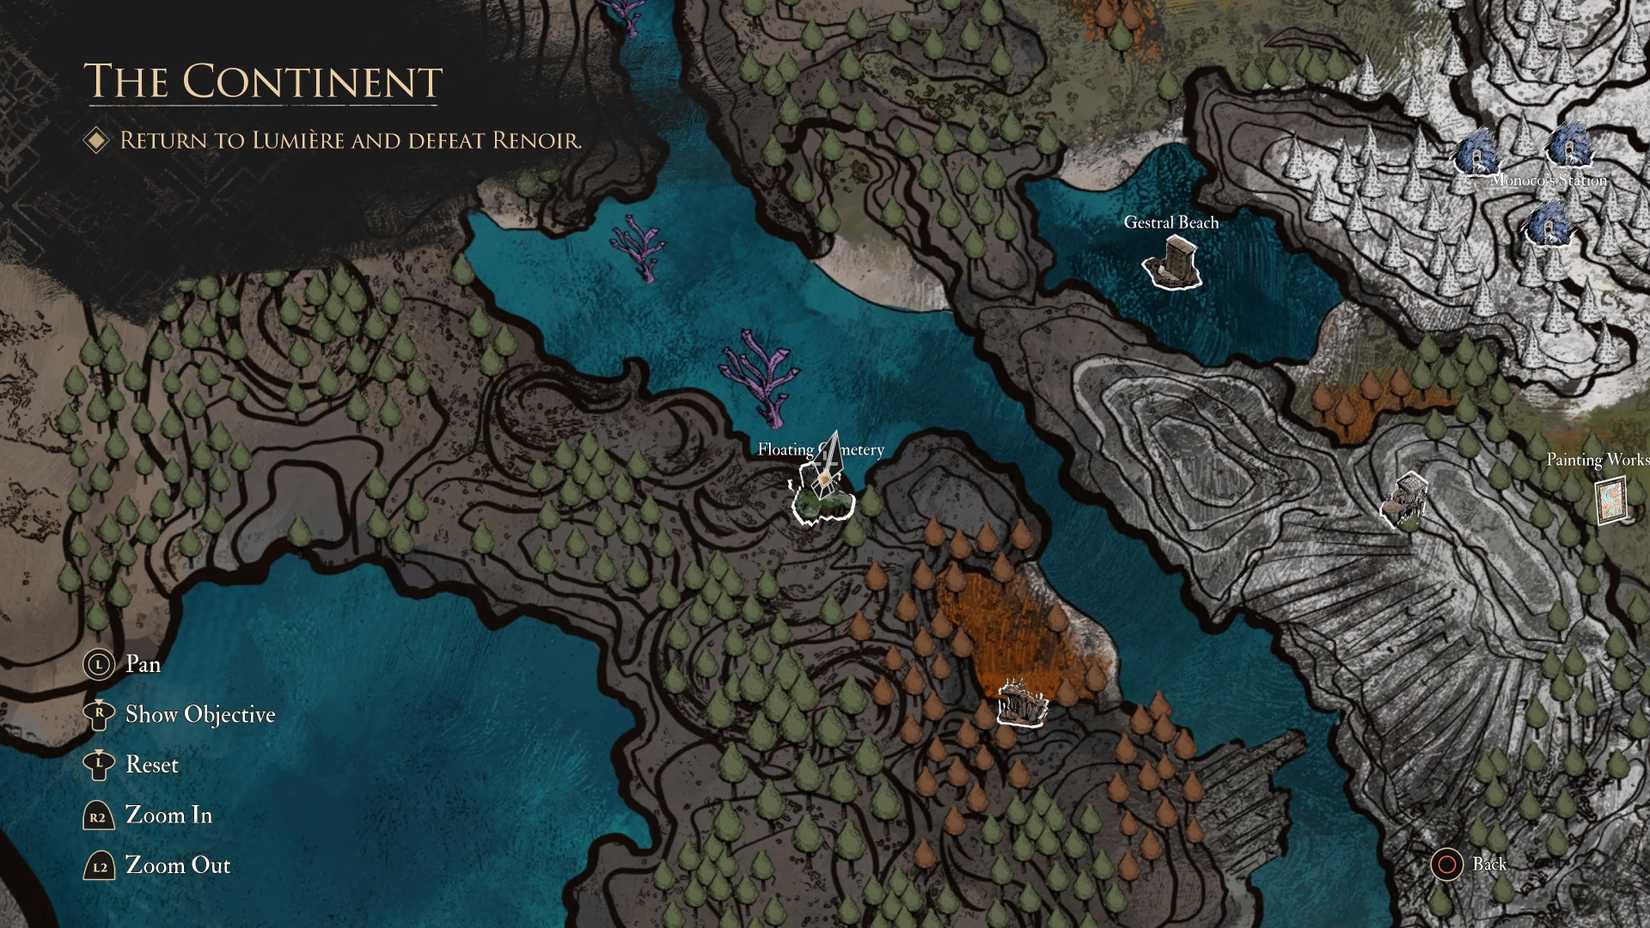Image: Sandfall Interactive/Kepler Interactive via Polygon
You can only access the Floating Cemetery after beginning Act 3 and restoring Esquie's ability to fly. The cemetery is southwest of the Gestral Beach that's directly west of Monoco's Station, and once there, you'll find a Chalier who wants to die. But not before fighting you.
The Chalier asks you to pick a weapon. Whether you choose the sword, spear, or hammer has no outcome on the quest, but it will determine which weapon the Chalier uses in battle. Each one has a unique attack — but only one, as the rest of the Chalier's moves remain the same — and in our experience, the spear or hammer is the easiest to deal with.
Should you kill the Chalier?
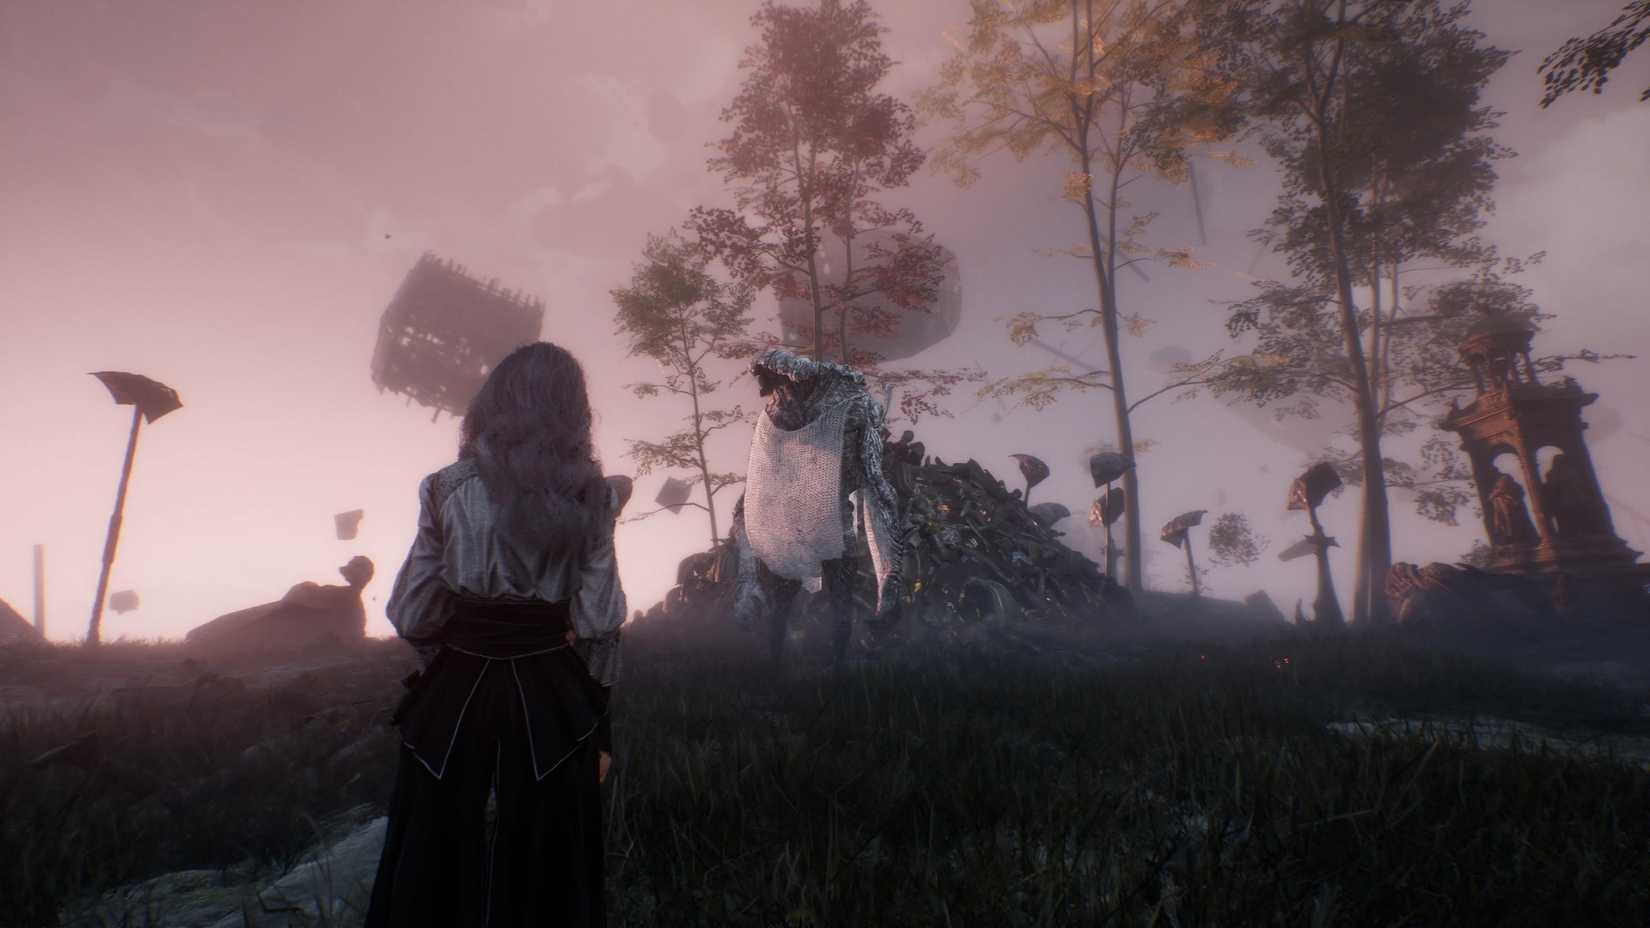Image: Sandfall Interactive/Kepler Interactive via Polygon
After you win the battle, the Chalier asks you to kill it. You should kill the Chalier, if you haven't killed any other White Nevron up to now. If you'd rather play it safe, though, keep this as your last White Nevron, so you can load an old save file prior to defeating the Chalier in case there's some other variable at play which we haven't discovered.
Killing it rewards you with the Auto Powerful Pictos, which automatically applies Powerful and keeps it active for three turns after the start of a battle. If you spare the Chalier, speak to Blanche to get the final White Nevron reward, and then return to kill the Chalier, you won't be able to get the Auto Powerful Pictos.
Our testing aligned with the general consensus, which is that you can still get Blanche's reward if you kill the Chalier, but only if you haven't killed any other White Nevron up to now.
Blanche — The Fountain
Image: Sandfall Interactive/Kepler Interactive via Polygon
The final part of all this White Nevron business happens in The Fountain, an area west of Spring Meadows. Like with the Floating Cemetery, you can only reach it after starting Act 3. Even though The Fountain isn't a floating island, there's no land or water access to its island, so you'll have to fly there.
Enter The Fountain, and chat with Blanche the Nevron. She'll give you 100 Color of Lumina if you only killed Chalier and no other White Nevron. If you killed more, she'll try to kill you.
If the latter happens, or you decide to attack her after getting the Lumina points, you'll get 10 Color of Lumina and two Resplendent Chroma Catalyst after winning. As always, the violent route isn't particularly worth the trouble.